Introduction
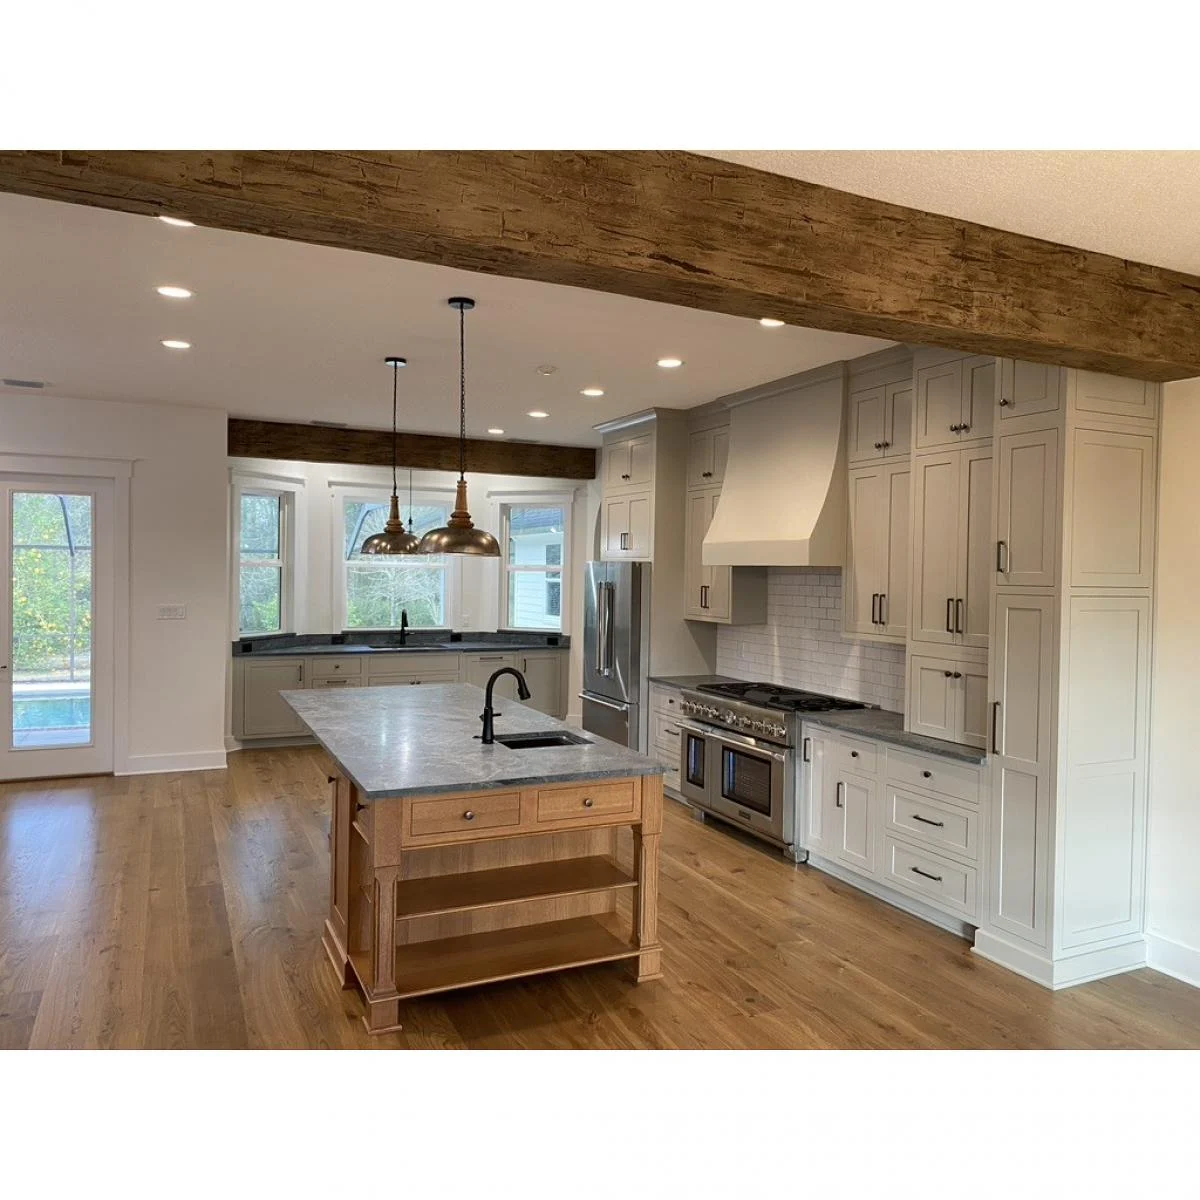
Faux wood beams are a fantastic product due to their lightweight nature, easy installation, and resistance to warping, rotting, or cracking. However, staining faux wood beams can be quite challenging. Whether you are trying to match your hardwood floors, your home’s décor, or simply aiming for a specific finish, the process can be daunting. Therefore, we made a step-by-step process on how to stain your faux wood beams to help you achieve that perfect finishing color.

BEFORE STARTING, CONSIDER YOUR STAIN
Use water-based stains, wax stains, or a quality gel stain. If using gel stain, mix it 2:1 with 2 parts stain and 1 part mineral spirits. Follow the drying times specified on the gel stain container. For exterior applications, use exterior water-based stain along with a quality exterior top coat. The choice of stain type is a matter of preference; however, each type behaves slightly differently, so it’s essential to conduct a test before applying it to the entire beam (Click here to learn more about differences between each stain). Remember to wipe down excess stain to avoid uneven spots.
STEP 1: SURFACE PREPARATION
Before staining, clean and prepare the, faux wood beams, surface thoroughly. Use a clean rag dampened with mineral spirits to wipe the entire surface, removing any contaminants.
Tip: For deeply grooved surfaces, use compressed air to blow off dust.
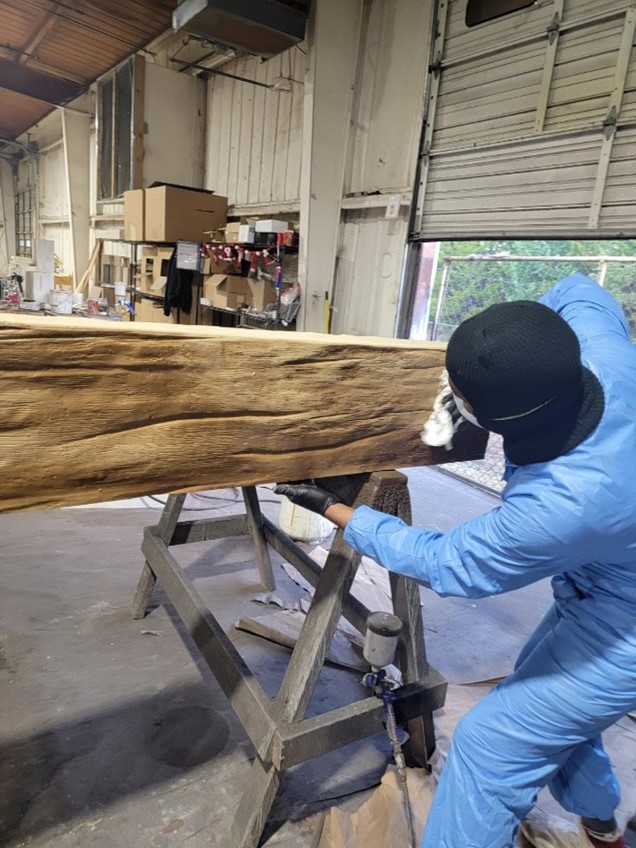
STEP 2: APPLY STAIN
Stir the stain thoroughly using a stir stick. Improperly mixed stain will not dry correctly. Apply the stain with a brush directly onto the surface of the faux wood beam. Ensure that you work the stain into the grain and fill all cracks and crevices.
Tip: If your product is longer than 10 feet, apply the stain in sections.
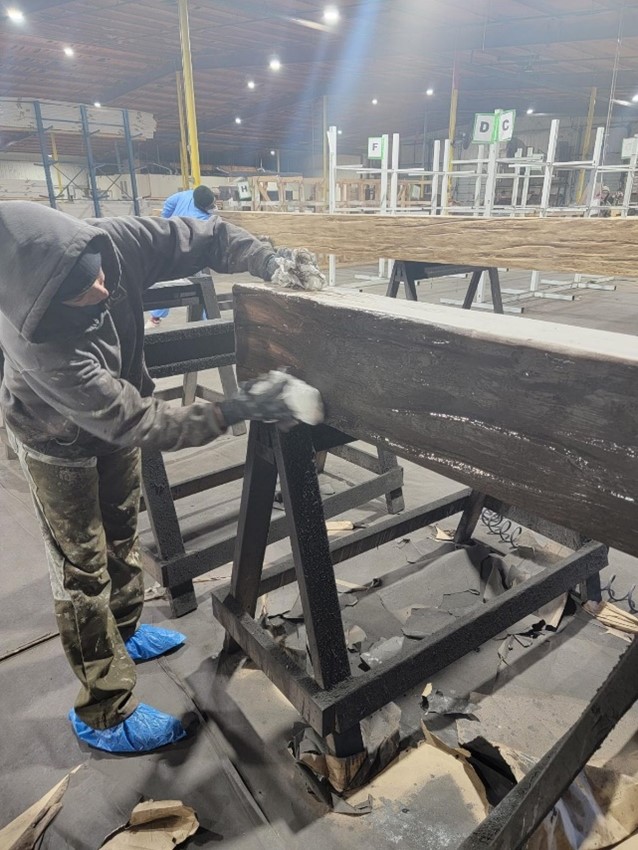
STEP 3: BLEND
Once the beam is fully stained, take a clean, dry brush with short bristles and begin dry brushing and blending the stain in the direction of the grain. After every few strokes, remove the excess stain using a clean rag or shop towel. Continue this process until the entire product or area looks uniformly stained like natural wood. Pay special attention to deep grooves and corners to prevent pooling of stain.
Tip: To prevent bristle loss during blending, periodically pull on the bristles with a rag or shop towel to remove loose strands.
STEP 4: TEST FOR DRYNESS
To check if the stain is dry, use a gloved hand to touch a hidden area or near the edge of the product. The stain is completely dry when nothing comes off on the glove. If it’s not dry, test again every hour until it is.
STEP 5: APPLY TOPCOAT (FOR EXTERIOR APPLICATIONS)
Stir the topcoat thoroughly using a stir stick. Wet the tips of the brush to apply a single, very thin layer of topcoat. Apply the topcoat smoothly and evenly. Avoid excessive brush strokes, as they can cause the topcoat to bubble or loosen the stain. If you find an area with uneven stain color, apply a small amount of mineral spirits, wipe it off, reapply the stain, and repeat the dry brushing and blending process. Once dry, apply another layer of topcoat.
Tip: To prevent bristle loss during topcoat application, periodically tug on the bristles with a rag or shop towel to remove loose strands.
AFTER STAINING
For fine scratches or nicks in the stain:
- Clean the damaged surface with mineral spirits.
- Apply the stain to the scratched area using a cotton swab or artist brush.
- Blend the stain until you achieve a color match.
- If a clear topcoat is needed, ensure the stain is completely dry before applying it.
- Apply a thin layer of topcoat over the repaired area using a clean cotton swab or small brush.
Tip: You can touch up fine scratches by dabbing stain onto the area, even if a topcoat has already been applied.
CREATE A UNIQUE LOOK WITH MULTILAYER STAINS
You can achieve an artistic effect by using two different colored stains. It’s advisable to practice first with two colors to achieve the desired effect. Start by applying the darker stain color and dry brushing it. Once completely dry, apply the second stain color, which should be a lighter shade. Ensure the darker color remains visible through the lighter stain. Use dry brushing for the second coat to achieve the desired appearance.
Conclusion
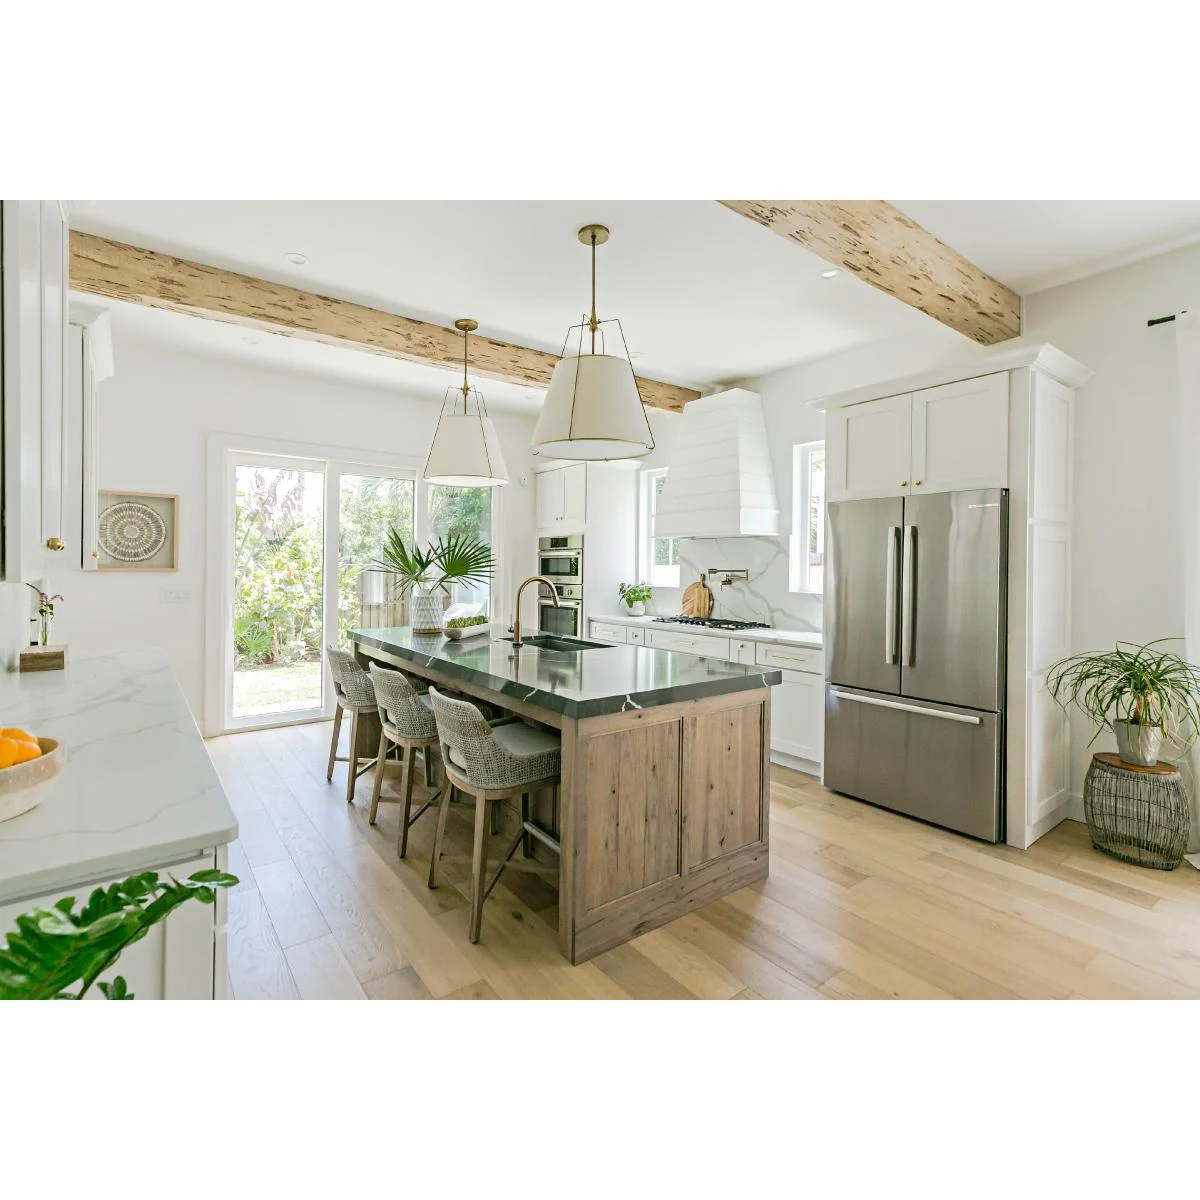
Congratulations, you have finished! Whether you were matching your hardwood floors or applying your unique finish, your efforts have paid off in creating a stunning finish on your faux wood beams. So now enjoy the long lasting beauty of your faux wood beam.
If you are looking for high quality stains or to match our Faux wood beams Click Here!
Need some accessories for your beams Click Here!
Want High Quality Real Wood Beams, Custom Faux Wood Beams or Quick Ship Faux Wood Beams!