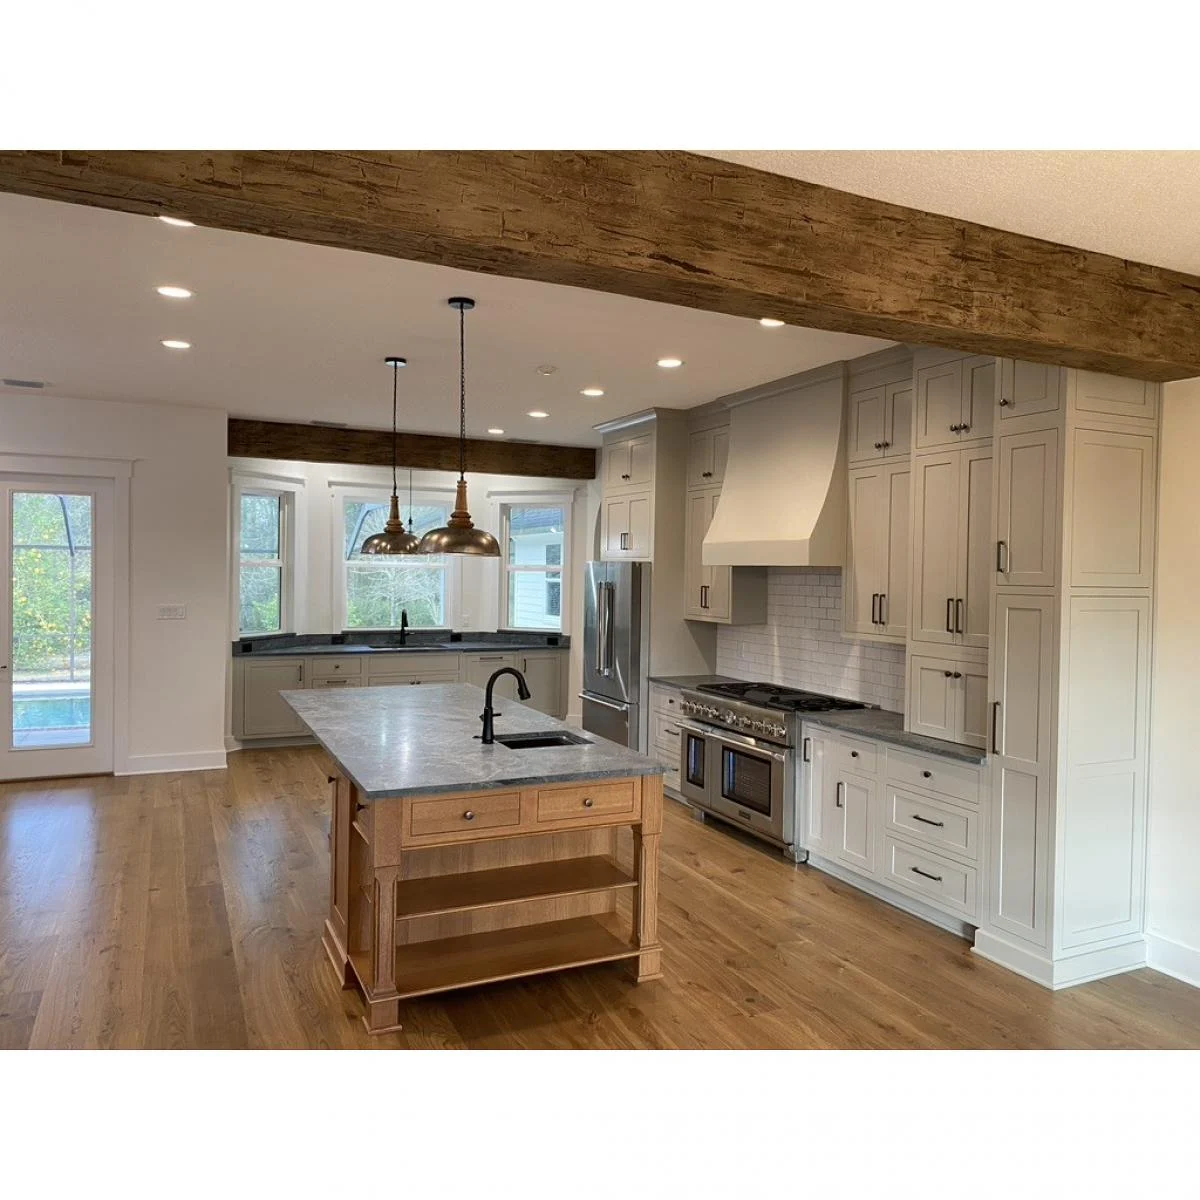
So you’re finally doing it. You’re finally installing crown moulding in your home. The kitchen/bedroom/living room of your dreams is right around the corner.
…
Corner…
…
Oh noooooooooooo…
You’re gonna have to cut the corners for the crown moulding…
You can’t cut crown moulding corners…
What!? Yes, you can! You are a strong, intelligent individual who can handle anything! I’m right behind you! We’re gonna get through this together, just you watch!
Cutting crown moulding corners can seem daunting at first, but it’s truly just a skill that you can learn like any other. And it really isn’t as complicated as a lot of people like to make it out to be. You don’t need to be physically strong or do a bunch of intensive calculation in order to do it. You just need to be able to be patient and pay a lot of attention to detail.
Now let’s get started.
Tools and Materials Needed
Before you begin, gather the following tools and materials:
- Miter saw
- Angle Finder
- Measuring tape
- Pencil
- Crown moulding
- Safety glasses
- Sandpaper
- Adhesive or nails (depending on the material and installation)
- Optional: A Coping Saw
(Step 0: Buy Crown Moulding With Pre-Mitered Corners)
This may not help you if you’ve already made your purchase, but Architectural Depot sells crown moulding with pre-mitered corners that make this entire process unnecessary. All of the profiles here have matching corners ready to ship alongside them to make your installation as quick and painless as possible. If you’re at all worried about the corner-cutting process, I honestly recommend just grabbing as many as you need and taking the hassle out of this whole situation. Even professionals who know how to cut crown moulding and have been doing it for years will still use these just because of the time and effort they save.
Step 1: Measure and Mark
Start by taking your measuring tape and getting the length of the wall where you are installing the crown moulding. Now measure your sticks and mark the spot you’ll be making your cut in order to get your corners and joints. You want to be as precise here as you possibly can. The goal is to not have a seam or as little of a seam as possible if you are painting/caulking.
Next take your angle finder and measure the angle of the corner you’re cutting for. In all likelihood, it’s going to be 90 degrees, but again, the need for precision is paramount. Even if it’s just 89 or 91 degrees, you wanna know that, because it’s going to affect the angle at which you make your cut later.
Now place a piece of your moulding up where it’s going to be installed. I recommend a small scrap piece for this. Make note of exactly where it’s touching the wall and ceiling and the exact orientation it’s in when it’s in this position. It needs to be in that orientation when you cut it. If you cut your sticks at different orientations, they won’t match each other.
Now I have good news, this is the most difficult part of the process. Seriously! The thing that makes crown moulding installation difficult is the demand for precision. So if you’ve done this correctly, you’re sailing smooth from here on out.
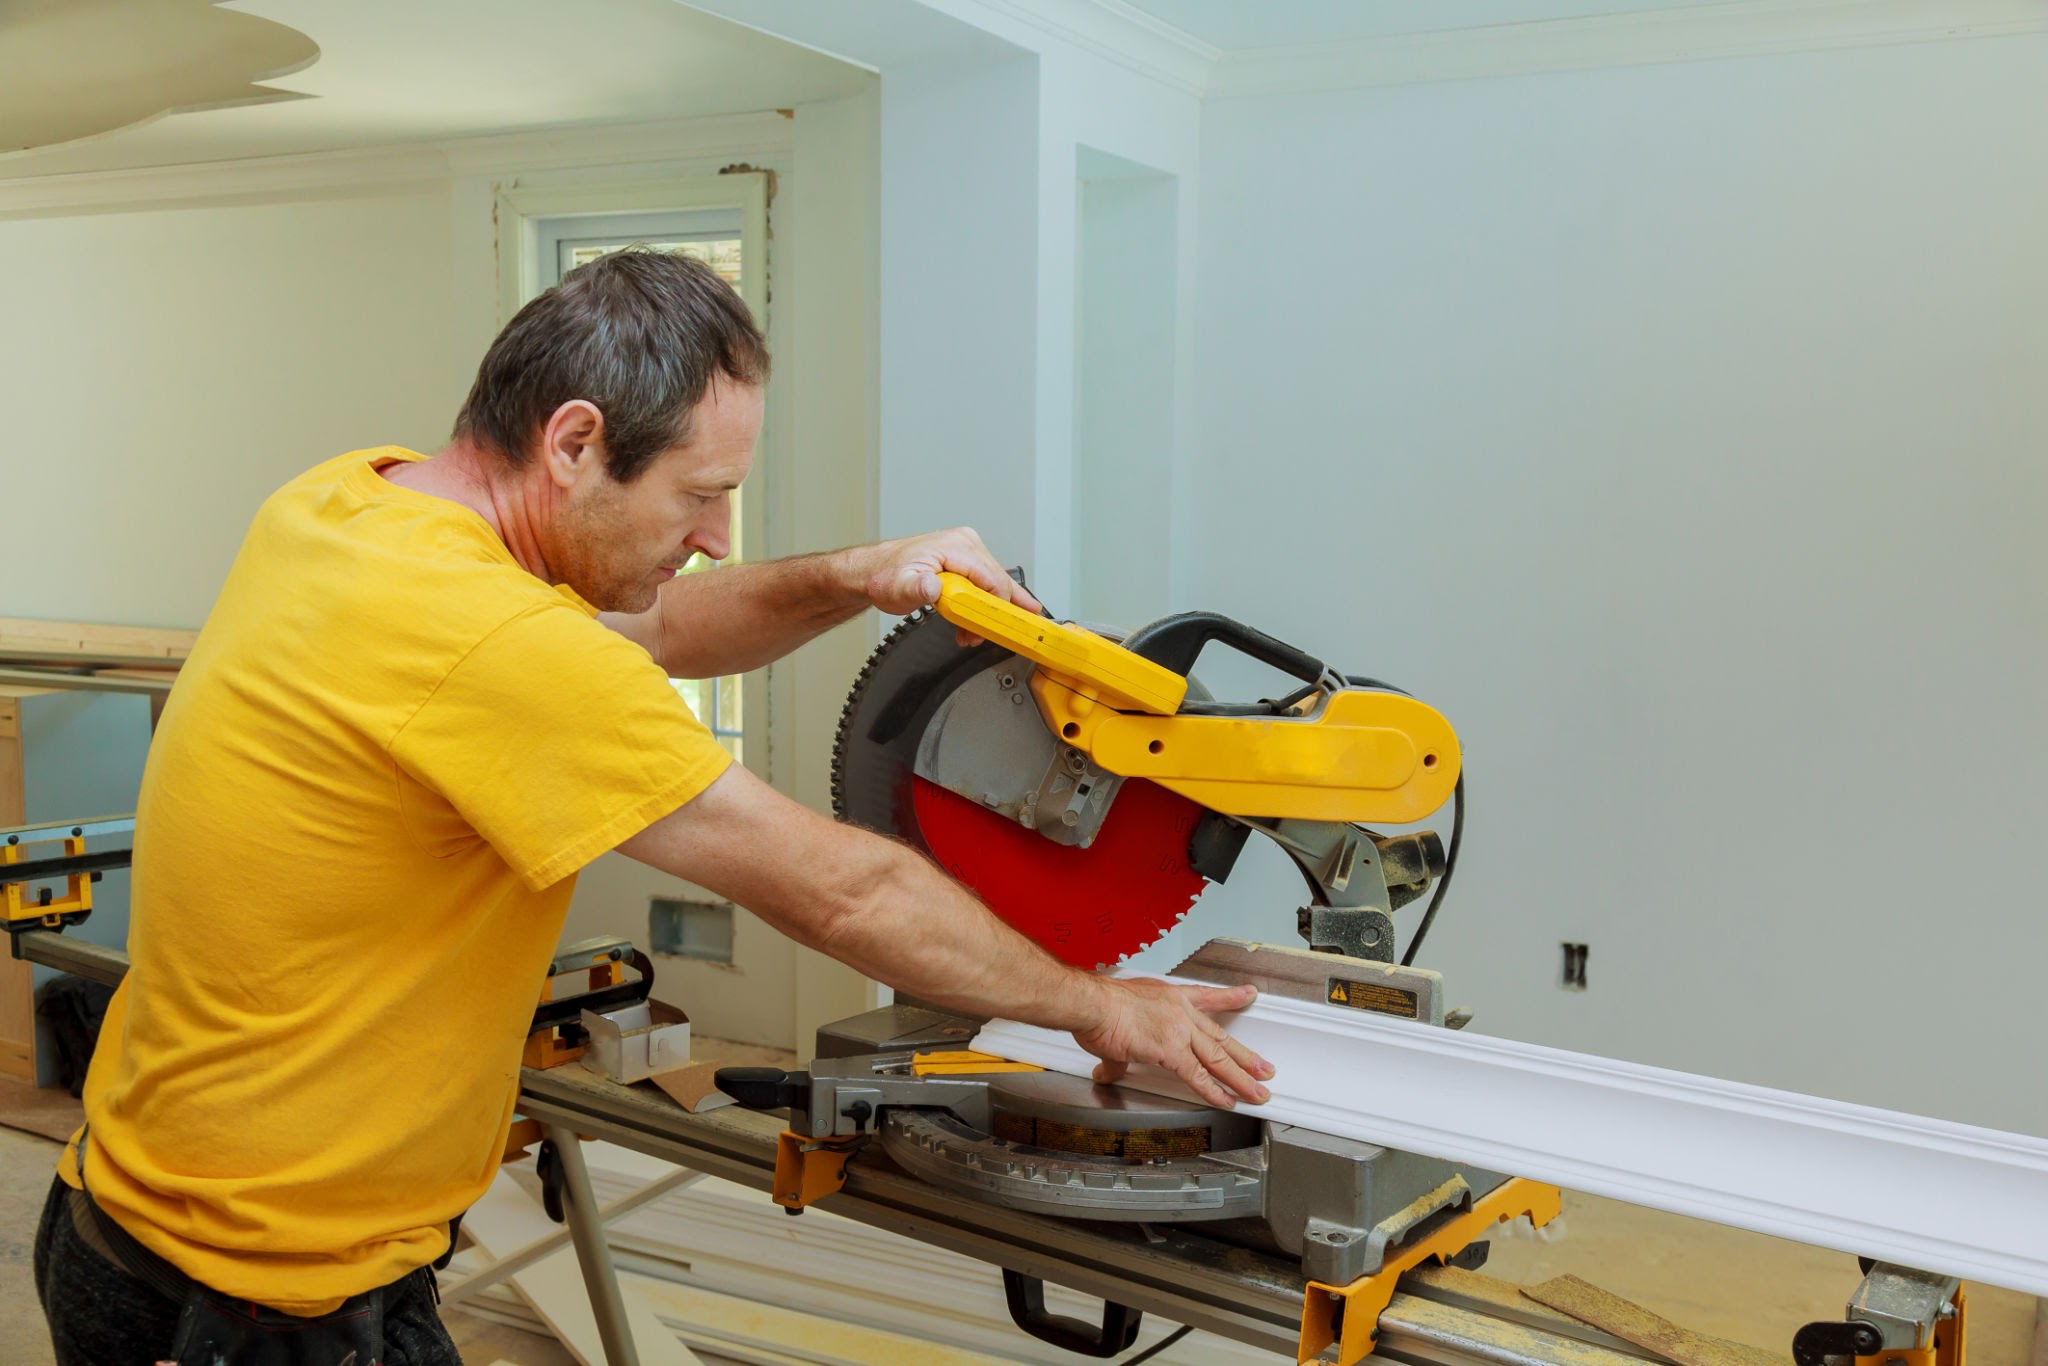
Step 2: Do I Really Need a Miter Saw?
For cutting crown moulding, a miter saw is your best friend, and I’m going to assume you have one. You might be wondering, “Do I really need a miter saw? Couldn’t I theoretically just cut the moulding with a handsaw and my angle finder?” Well, that depends. Do you look like this man?

I mean… if you do, then yes. Yes, you absolutely can. But what are you doing reading this article? You should be the one writing this article.
For everyone else, I recommend a miter saw. It’s going to save you a lot of expensive and time consuming mistakes.
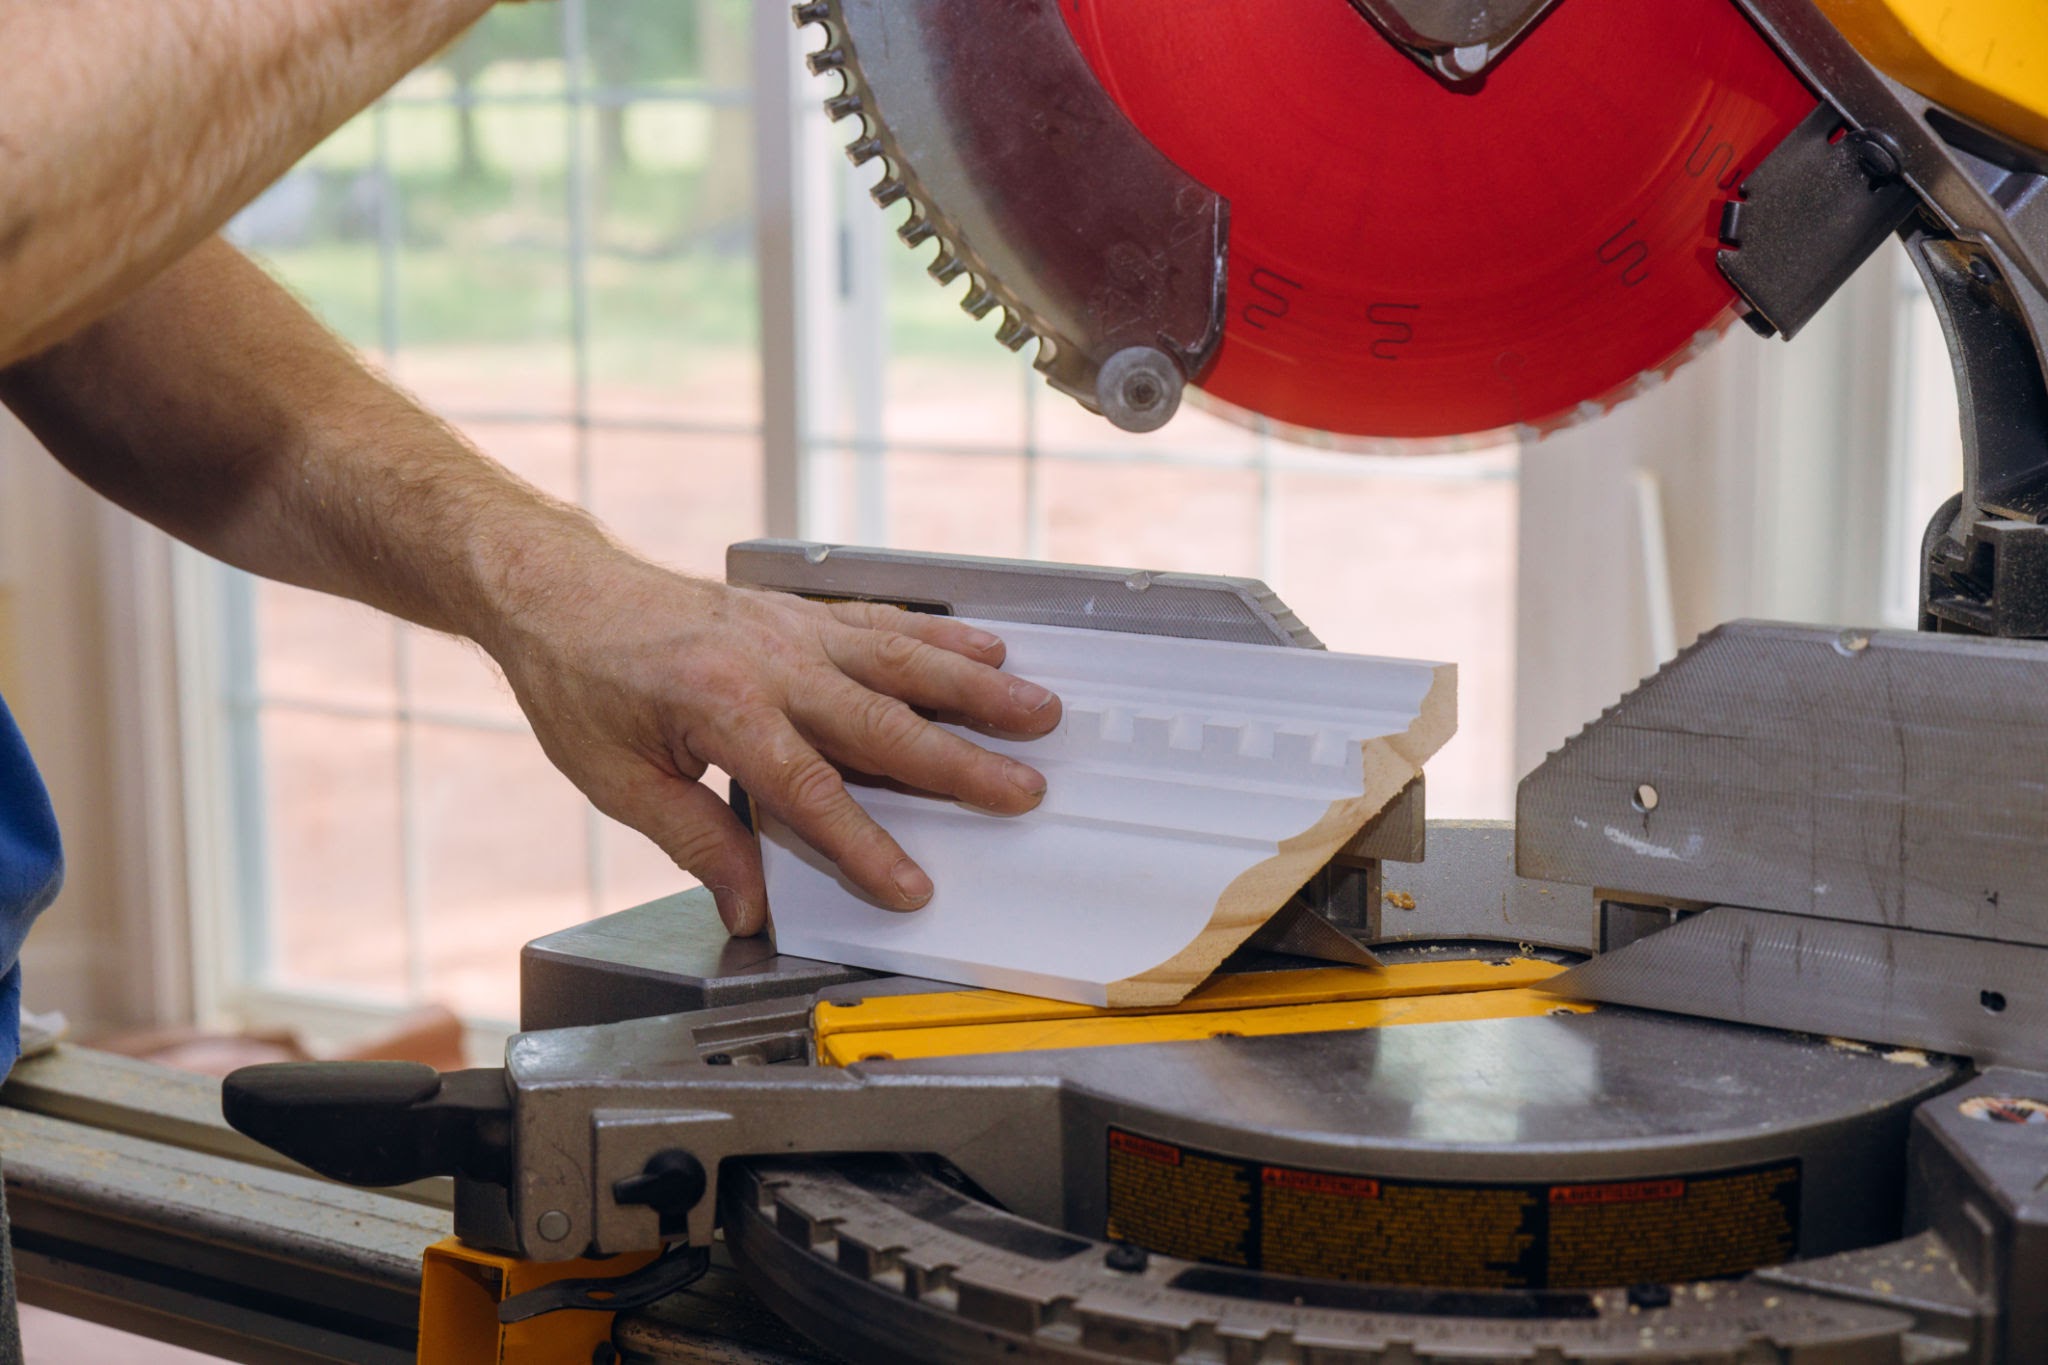
Step 3: Positioning the Moulding
This is slightly counter-intuitive for most first-time cutters, but you’re going to cut the crown moulding upside down. Put the edge that touches the wall on the fence of your miter saw and lay the edge that touches the ceiling flat down on the base.
Make a mark on your saw with marker showing where each edge of the moulding is laying. This will help you cut using the same orientation every time, rather than just eyeballing it.
Step 3.5: Go Back and Measure it Again Before You Start Cutting
Measure Twice. Cut Once. You’ll thank me and yourself.
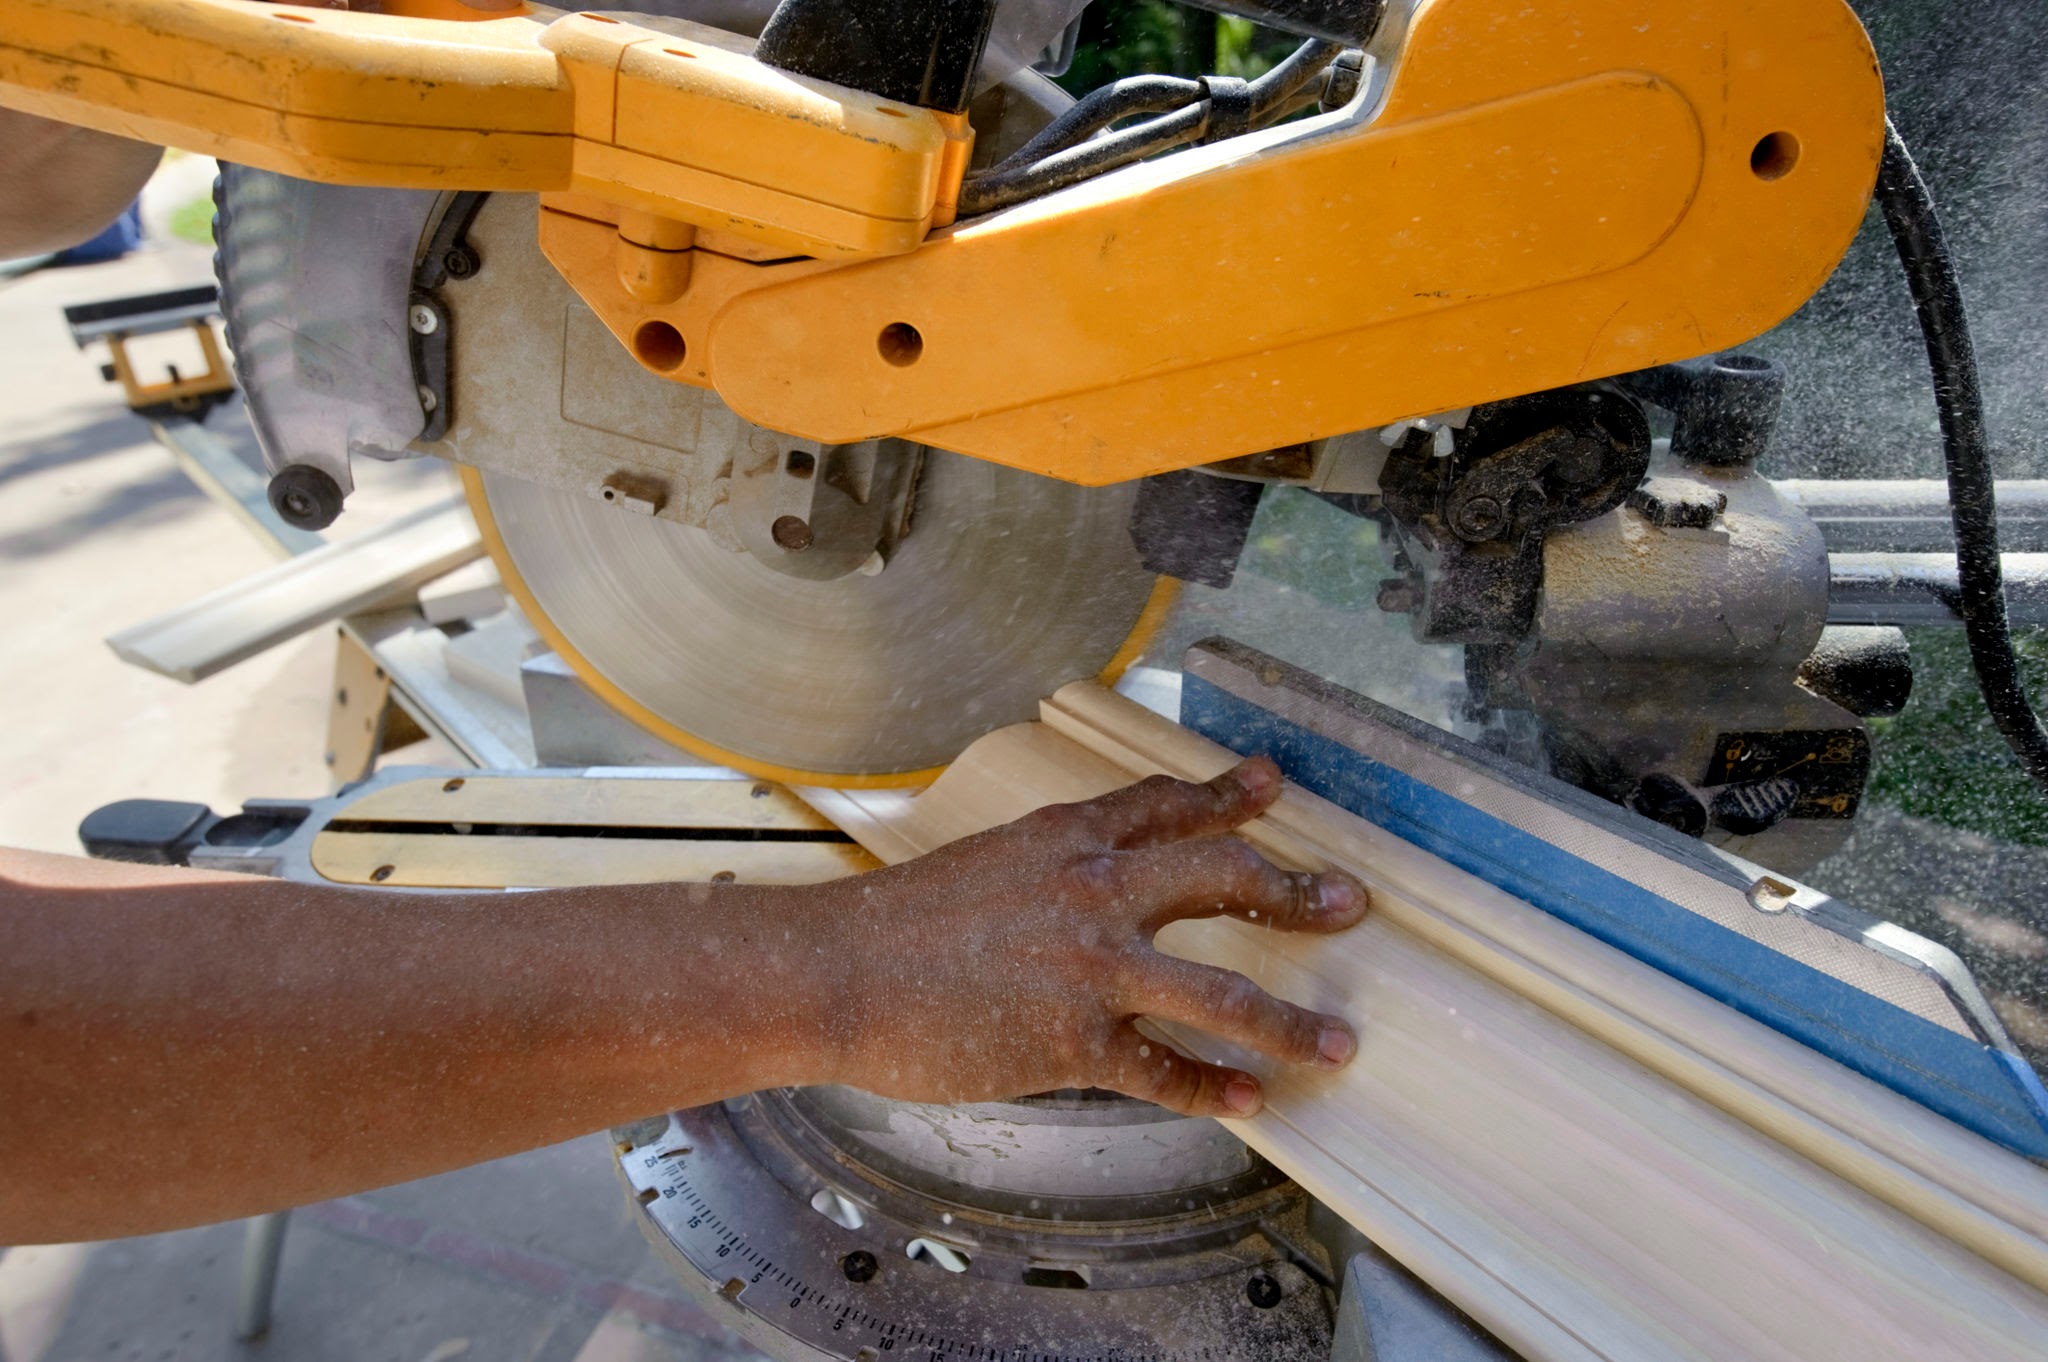
Step 4: Making the Cuts
Alright, it’s time to cut this bad boy. This is the part where a lot of people get nervous. It’s the point of no return. If you’ve been careful with your measurements up until now, however, you have nothing to worry about.
I do recommend making a few test cuts using scrap pieces before committing your actual installation materials. On Architectural Depot, we sell 6-inch samples of nearly every one of our crown moulding profiles, which are excellent candidates for this. They’re all about 6 dollars each, so you can grab a handful to use for scrap purposes, rather than taking your scraps out of your main profiles.
Also, be exceptionally careful if working with wood crown moulding. Because it cannot be caulked, the margin for error is much slimmer than if working with other materials. Pre-mitered corners and couplers are *especially* recommended for first time installers working with wood.
First, we’ll tackle joints.
Joints
Joints in this case refer to the places where separate crown moulding sticks meet each other on a flat wall, not a corner. A lot of how-to guides skip this step, because it’s relatively simple compared to the corner, but I want to make sure you know everything you need to know for your project, because I’m just that nice a guy.
When installing crown moulding, you always need to cut every end before you put it up. Even if you are only taking off a tiny bit at the end, you need to make sure that the seams between the different sticks are perfect. So even if that end really does look flat, go ahead and trim the end anyway, and the end of the stick it’s connecting to, so that you can be absolutely sure they will match each other. There’s two basic types of joints that installers will use here: Scarf and Butt Joints.
Butt Joints
A butt joint is when you cut the two connecting ends perfectly flat and butt them up against one another. This is definitely the easier of the two techniques, and there’s certainly nothing wrong with it. If you’re working with urethane crown moulding, this is probably the technique I would recommend.
To cut your butt joints simply set your miter saw to 0 degrees. Now trim the right edge of the left stick and the left edge of the right stick. As long as you cut the two stick at the same orientation, they should now match up perfectly with one another. If your moulding has some kind of intricate pattern or design on it, such as dentil or egg & dart crown moulding, make sure you find a point where the pattern repeats and make your cut specifically there on both profiles so that you don’t disrupt the pattern.
Scarf Joints
So these guys are slightly more complicated than butt joints, but they have several advantages. First, the seam between the two moulding profiles will be significantly less noticeable. This isn’t a huge deal with urethane moulding, since you’re just going to caulk that anyway. With wood moulding, however, that’s a huge boon. We’ll take anything we can get to make our wood more seamless. Scarf joints also tend to hold up better over time, as there’s more surface area for the adhesive to attach to. This isn’t a huge deal with urethane moulding, since it’s lightweight. It’s really nice for wood crown moulding, since that’s a far heavier material.
I think you get what I’m saying. If you’re doing urethane, there’s no reason to worry about scarf vs butt joints. For wood, you’re going to want to use a scarf joint. If you don’t want to worry about the hassle, we sell couplers that will cover the seam the same way that our corners eliminate the hassle of cutting those pieces.
To cut your scarf joints, turn your miter saw to 45 degrees. Once again, trim the left side of the right stick and the right side of the left stick. And that’s really it. It’s exactly the same as doing a butt joint, but at an angle. It can just be a little easier for first-timers to make a mistake, but again, practice with some scrap pieces before tackling the real thing, and you’ll be fine.
Next up- Corners. For now, I’m going to assume you’re cutting for a perfect 90-degree wall-corner.
Cutting Inside Corners
1. First Piece (Right Inside Corner): Place the moulding upside down on the left of the saw blade. Set the saw to 45 degrees to the left and cut a sliver off the end.
2. Second Piece (Left Inside Corner): Place the moulding upside down on the right of the saw blade. Set the saw to 45 degrees to the right and cut a sliver off the end.
Cutting Outside Corners
1. First Piece (Right Inside Corner): Place the moulding upside down to the left of the saw blade. Set the saw to 45 degrees to the right and cut a sliver off the end.
2. Second Piece (Left Inside Corner): Place the moulding upside down to the right of the blade. Set the saw to 45 degrees to the left and cut a sliver off the end.
Makes sense right? For inside corners, we turn the saw towards the profile to cut it. For outside corners, we turn the saw away from the profile to cut it. For inside corners, the end touching the wall is longer than the end touching the ceiling. For outside corners, the end touching the ceiling is longer than the end touching the wall.
Advanced Technique: Coping Inside Corners
Coping crown moulding is a slightly more advanced technique. Simple inside corners like I described above are fine, but a lot of people prefer the seamless look that coping can give a corner. For your first profile, angle your saw blade right at 0 degrees and trim a sliver off the end. Now you’re gonna install that stick flat up against the wall going into the corner, the same way you would if you were doing a butt joint. For your second profile, you’re going to cut it just like you were doing a normal corner (Make sure you use the right technique, depending on if this stick is going to be the right or left half of the corner). Now you’re going to take your coping saw and cut into the unexposed part of the moulding in this corner leaving the front-facing profile undamaged. What you are essentially doing is hollowing out the inside of the moulding so that you can lay it over the first stick that you just installed. The result will be a corner where the space between the two sticks is much less perceptible. Again, if you don’t have a coping saw or aren’t comfortable with this more advanced technique, there’s nothing wrong with simple, traditional crown moulding corners.
Note that while I am assuming your wall has perfect 90 degree corners, you should not assume that. You should also not assume that every corner is identical. Measure every corner, every time, before you start cutting. Even if the last 8 were all a perfect 90 degrees. The 9th one is going to be the one that’s different.
Step 4.5: Corners that aren’t 90 degrees
“Well okay smarty-pants,” I hear you saying, “so what do I do if my corner isn’t 90 degrees?”
Well, I’m getting there dagnabbit! If your corner isn’t a perfect 90 degrees, there’s a few more steps to get where we’re going, but it isn’t any more difficult than cutting when it was 90 degrees. You just need to figure out what angle it is you do need to cut at now.
For Inside Corners
Take your angle finder and determine the angle of the corner. Divide that number by 2. Set your saw blade to that many degrees in the previous step, rather than 45.
Example: 70 degree inside corner? Divide that by 2 to get 35. Set your saw blade to 35 degrees rather than 45.
For Outside Corners
Take your angle finder and determine the angle of the outside corner. Subtract that number from 180. Divide that number by 2 to find where you need to set your blade.
Example: 130 degree outside corner? Subtract from 180 to get 50. Divide that by 2 to get 25. Set your saw blade to 25 degrees rather than 45.
Step 5: Test Fit, Adjust, Paint or Stain
Test fit your pieces before your final installation. Hold the corners up to your wall corner and see how they fit to it and each other. This allows you to make any necessary adjustments. If the pieces don’t fit perfectly, you may need to sand the edges slightly to get a better fit.
If you’re planning to paint or stain your crown moulding, now is the time to do it: after the cut (so you don’t damage your work while cutting) and before the installation (so you don’t get paint or stain all over your walls and ceiling).
Step 6: Installing the Crown Moulding
Wood Crown Moulding
For wood crown moulding, you can use finishing nails or adhesive. If using nails, make sure to countersink them slightly and fill the holes with wood putty for a seamless look. Also make sure you’re nailing into the stud.
I’ve said it before but I’ll say it again here: wood is not a flexible material to work with. Once it’s up there, you gotta work around whatever you’ve installed already or pull it down entirely. Double. Check. Everything… before you commit any nails or adhesive.
Urethane Crown Moulding
Urethane crown moulding is lightweight and easy to work with. It typically only requires adhesive for installation. Apply a bead of adhesive to the back of the moulding and press it into place. Use painter’s tape to hold it in position until the adhesive sets or use finishing nails.
Pro-tip: One of the great advantages of urethane over wood is that it’s a little more flexible. As you are nailing in your moulding, don’t use any nails in the last foot or 2 of the stick at first. This will leave you some wiggle room as you install the next stick in your project. Install your second stick and check how the first one meets it. You can slightly bend the installed piece up or down, make little last-minute cuts with a utility knife, or whatever else you need to do to make the profiles meet. Once both sticks meet each other perfectly, finish nailing the first piece.
Crown Moulding for Cabinets– A Note
When installing crown moulding on cabinets, the process is similar but may require smaller cuts and adjustments to fit the cabinet dimensions. Measure carefully and make precise cuts to ensure a perfect fit. Use adhesive or nails based on the cabinet material and the type of moulding you are using.
Once all the moulding is installed, fill any gaps or seams with caulk or wood putty. Sand any rough edges and touch up with paint or stain as needed to match your existing decor.
Step 7: You Did It!

Remember when you thought you couldn’t cut crown moulding? Now look at you! You’re practically a professional. And oh my goodness, what is this? Your beautiful new Living Room? Or Kitchen? Or Bedroom? Or wherever it is you just did your project in? Oh my Lord, it’s luxurious! I can see it now!
Happy Installing Everyone. We’ll see you next time.